Has self-isolation left you with a yearning to get out and do something, anything?
The outbreak of Coronavirus in the UK has posed some pretty strict travel measures for Britons, with exemptions only made for essential travel and for key workers. But what tasks can you do to keep yourself from mind-numbing boredom?
We recommend going to town on your car.
No, not literally. Take this time away from work, school or other commitments to give your car the TLC it deserves.
This guide will take you on a journey to clean your car like a true professional, from exterior to interior.
Exterior
1. Proper equipment
Getting the proper equipment for the job is a no-brainer, it will save you time and more importantly, any embarrassing mistakes.
If you have a pressure washer and brand new detailing wax, you’ll be done in no time, but for many drivers out there, you can turn to the inexpensive bucket and sponge to battle the dirt.
But, you may want to supplement this with a range of waxes and sprays to help keep your vehicle looking like it just came off the showroom floor. This becomes more fundamental to those drivers who own older cars – often you will find that you may have to actively protect the paint using a whole host of products, compared to newer models which still have their protective clear coat attached.
2. Use products meant for your car
Did you know that laundry detergent and washing up liquids can actually damage the paint on your car? Avoid using anything that is not specifically made to clean your car.
This will usually be fairly obvious as the wax may have a picture of a car on its front, or a spray may feature keywords (i.e. auto spray, car spray).
While some waxes available at stores will cover just the paint, you can find a product which can also be used to cover the chrome panels and headlights of your car – buying multi-purposed products will keep your costs down.
As mentioned in the previous section, make sure you assess the state of your vehicle and its needs before cleaning it.
So what products can you use on your car, and what do they do?
| Tyre Shine | Apply tyre shine to clean, restore and rejuvenate your tyres. These products will keep your tyre looking shinier for longer – simply apply to the tyre and enhance the look of it, for longer than usual. |
| Detailing Spray | Apply to bolster protection and add shine to exterior surfaces of your vehicle. This spray can be sprayed onto your car as a quick alternative to waxing, and leave you with a glossy texture. |
| Wax | Apply this to your paintwork to prevent fading of colour and sun damage. Rub it sparingly onto the exterior of your car, and clean away with a dry microfibre cloth to reveal a mirror-like finish. |
| Shampoo | Apply this generously, depending on the brand, to the surface of your vehicle after you’ve washed it down to remove dirt and grime from the exterior of your car. Once shampooed, simply rinse the dirt off your car. |
| Window Cleaner | Apply to glass surfaces on your car to remove dirt accumulated, for use on the exterior and interior. This cleaner will allow you to see where you are going – just use a microfiber cloth with this product to create a streak-free finish on your vehicle. |
3. Rinse your car
Spray your vehicle down with either a hose or pressure wash before using any type of sponge to remove large pieces of dirt from the exterior of your vehicle.
Wildly attacking your car with a sponge before the surface is wet will likely leave you with a dirty sponge, and still, a dirty car.
4. Shampoo
Once you have fully rinsed your car, grab some car shampoo and your sponge, and start scrubbing. We recommend starting with the roof and working your way down.
Once you are happy that you have removed all the visible dirt from your vehicle, repeat the previous step and wash away all of the soapy liquid from the exterior of your car – and you should reveal a much cleaner vehicle!
You are likely to now see your own reflection in the paintwork, but why stop there?
5. Dry your car
After you’ve revealed the true colour of your car, under the previously dirty mask, you’ll need a microfiber towel, or failing this, a rag, to dry the surface of your car. Again, we recommend starting at the top of your car and working your way down – most dirt gathers towards the bottom of the car.
Of course, you could just let the car air dry if it’s a sunny day, but this will not guarantee the desired sparkle and streak-free finish you were hoping for.
6. Wax it up
You should now be left with a fairly shiny finish on your car, and a sense of satisfaction from cleaning your car.
But how exactly can you make it look like it came out of the showroom?
Wax, wax baby.
Apply the product liberally to each panel of your car, in a circular motion to avoid streaky finishes. Covering the body of your car in a coat of wax will prevent its future fading and discolouring – two side effects of sun damage.
(It may be easier for you to work in small sections at a time to avoid the wax from drying too much, and being harder to remove, so start with the front and work your way to the back, or vice versa).
Grab a dry chamois cloth, and wipe over the wax in a circular motion, to reveal a shine underneath.
If you find wax building up in crevices or car emblems, you can grab a soft bristle toothbrush and remove the wax build up. Just make sure you wash it off before putting it back in the toothbrush holder. Just kidding!
7. Add-ons
You should now have a smug face staring back at you from the shine of your car. But what about those extra products you bought?
Now is the time to use them.
Apply your window cleaner to all the glass on the exterior of your car, leave to work its magic, then use a clean cloth to remove the cleaner and reveal a clear window underneath.
Then grab some tyre shine and either spray or rub in the product onto your tyres to refresh their look.
This advice is key for each step of cleaning your car – CHECK THE INSTRUCTIONS. While most products conform to the standards we have described, there are variations between brands which have their own specifications.
Once you have finished this final step, and got the outside of your car looking brand new, it’s time to jump into the cockpit and work your magic in there too!
Interior
1. Decluttering your car
Whether your car is piled high with takeaway wrappers, filled with mud from your dog walks, or a temporary graveyard for plastic bottles – the first step it to clear all the rubbish out of your car.
Take everything out which will hinder your ability to clean it properly. This also means pulling up your detachable floor mats, and placing them outside your car for the moment.
2. Cleaning your floor mats
Once you’ve removed the floor mats, give them a swift clean:
- Fabric: If they are fabric you may be able to use a household hoover, before using a specially formulated carpet cleaner to the mats, before brushing it in with a carpet brush. You can use carpet cleaner use, it has the same effects as the ones made for the interior of your car – usually.
- Rubber: Start by spraying the mats down with a hose or pressure washer to remove the surface contaminants. Then use an all-purpose cleaner and give it a hard scrub to remove any ground-in stains or marks from the mats. Once you’ve applied this, you may want to give them one more rinse and set them aside to dry.
3. Hoover your car
Grab the hoover and push the seats back, dive into every nook and cranny, and try to get the vacuum head into those hard to reach spots (i.e. air vents and cup holders).
If you have a pet pooch, you may need to find a more heavy-duty hoover to do your bidding, or grab a wet cloth to lift the hair.
When you are satisfied that you have removed the majority of the grub, it’s time to get down and dirty.
4. Time to clean those seats
There are multiple ways of taking care of your seats depending on the material:
- Fabric: Grab an upholstery cleaner, designed specifically for fabric seats and spray it on. You will probably find that the same product you use to clean your mats, can also be used on your seats.
Whether you spray and wipe the cleaner into the seats, or apply it to a cloth first, check the instructions first.
- Leather: If you are lucky enough to have a leather interior, you may want to use something slightly different to clean your seats. Just like the fabric seats, there are readily available leather seat cleaners which can make your seats look as good as new.
These usually come in forms of wipes, which can simply be used to give the seats a once over. Alternatively, you may want to use a specific leather seat spray with a leather brush to clean your seats effectively.
Once you are confident that the seat is clean, and no longer resembles the smell of you or other drivers, you should grab some leather protection for your seats – these products are used to maintain the quality of the leather and avoid it from cracking under the intense exposure to the sun. Slather this onto the seats using a cloth and reap all the benefits of having silky smooth seats for yours, and others rear ends.
5. Repeat the above step
We don’t recommend that you keep going over the same spots on your seats, but instead repeat the process of treating other fabric and leather pieces of trim inside your vehicle (side panels, roof, headrests).
This might be a slightly more intricate task than cleaning your seats, but it will refresh your trim and make the whole car look as though it had just rolled off the factory floor.
6. Create a stain-free surface
While many of us like to think that our car is made of pure muscle, or has a luxury leather interior – the reality is that the majority of it is made from plastic.
So, the best thing to tackle plastic areas (i.e. dashboard, centre console, doors) is to use a designated product. But before we jump into which product is best for this surface type, let’s tackle a problem many people have with their plastic trim.
Stains – whether this be from a muddy boot or where your takeaway went all over your car. Unfortunately, while most plastic cleaners will help make the interior look incredibly shiny, it does not have the properties to break up stains and remove the dirt (in our experience).
So, a nice cost-effective way you can treat these marks is to take a damp cloth or sponge and a solution of warm water and either soap or laundry detergent. Quickly smother this into the affected areas and hopefully, it should clear to reveal a stain-free surface – make sure you do not apply the soap or detergent to the area directly, always apply to the cloth/ sponge.
Now that’s out of the way, we can now get to the fun bit. Making your interior pop!
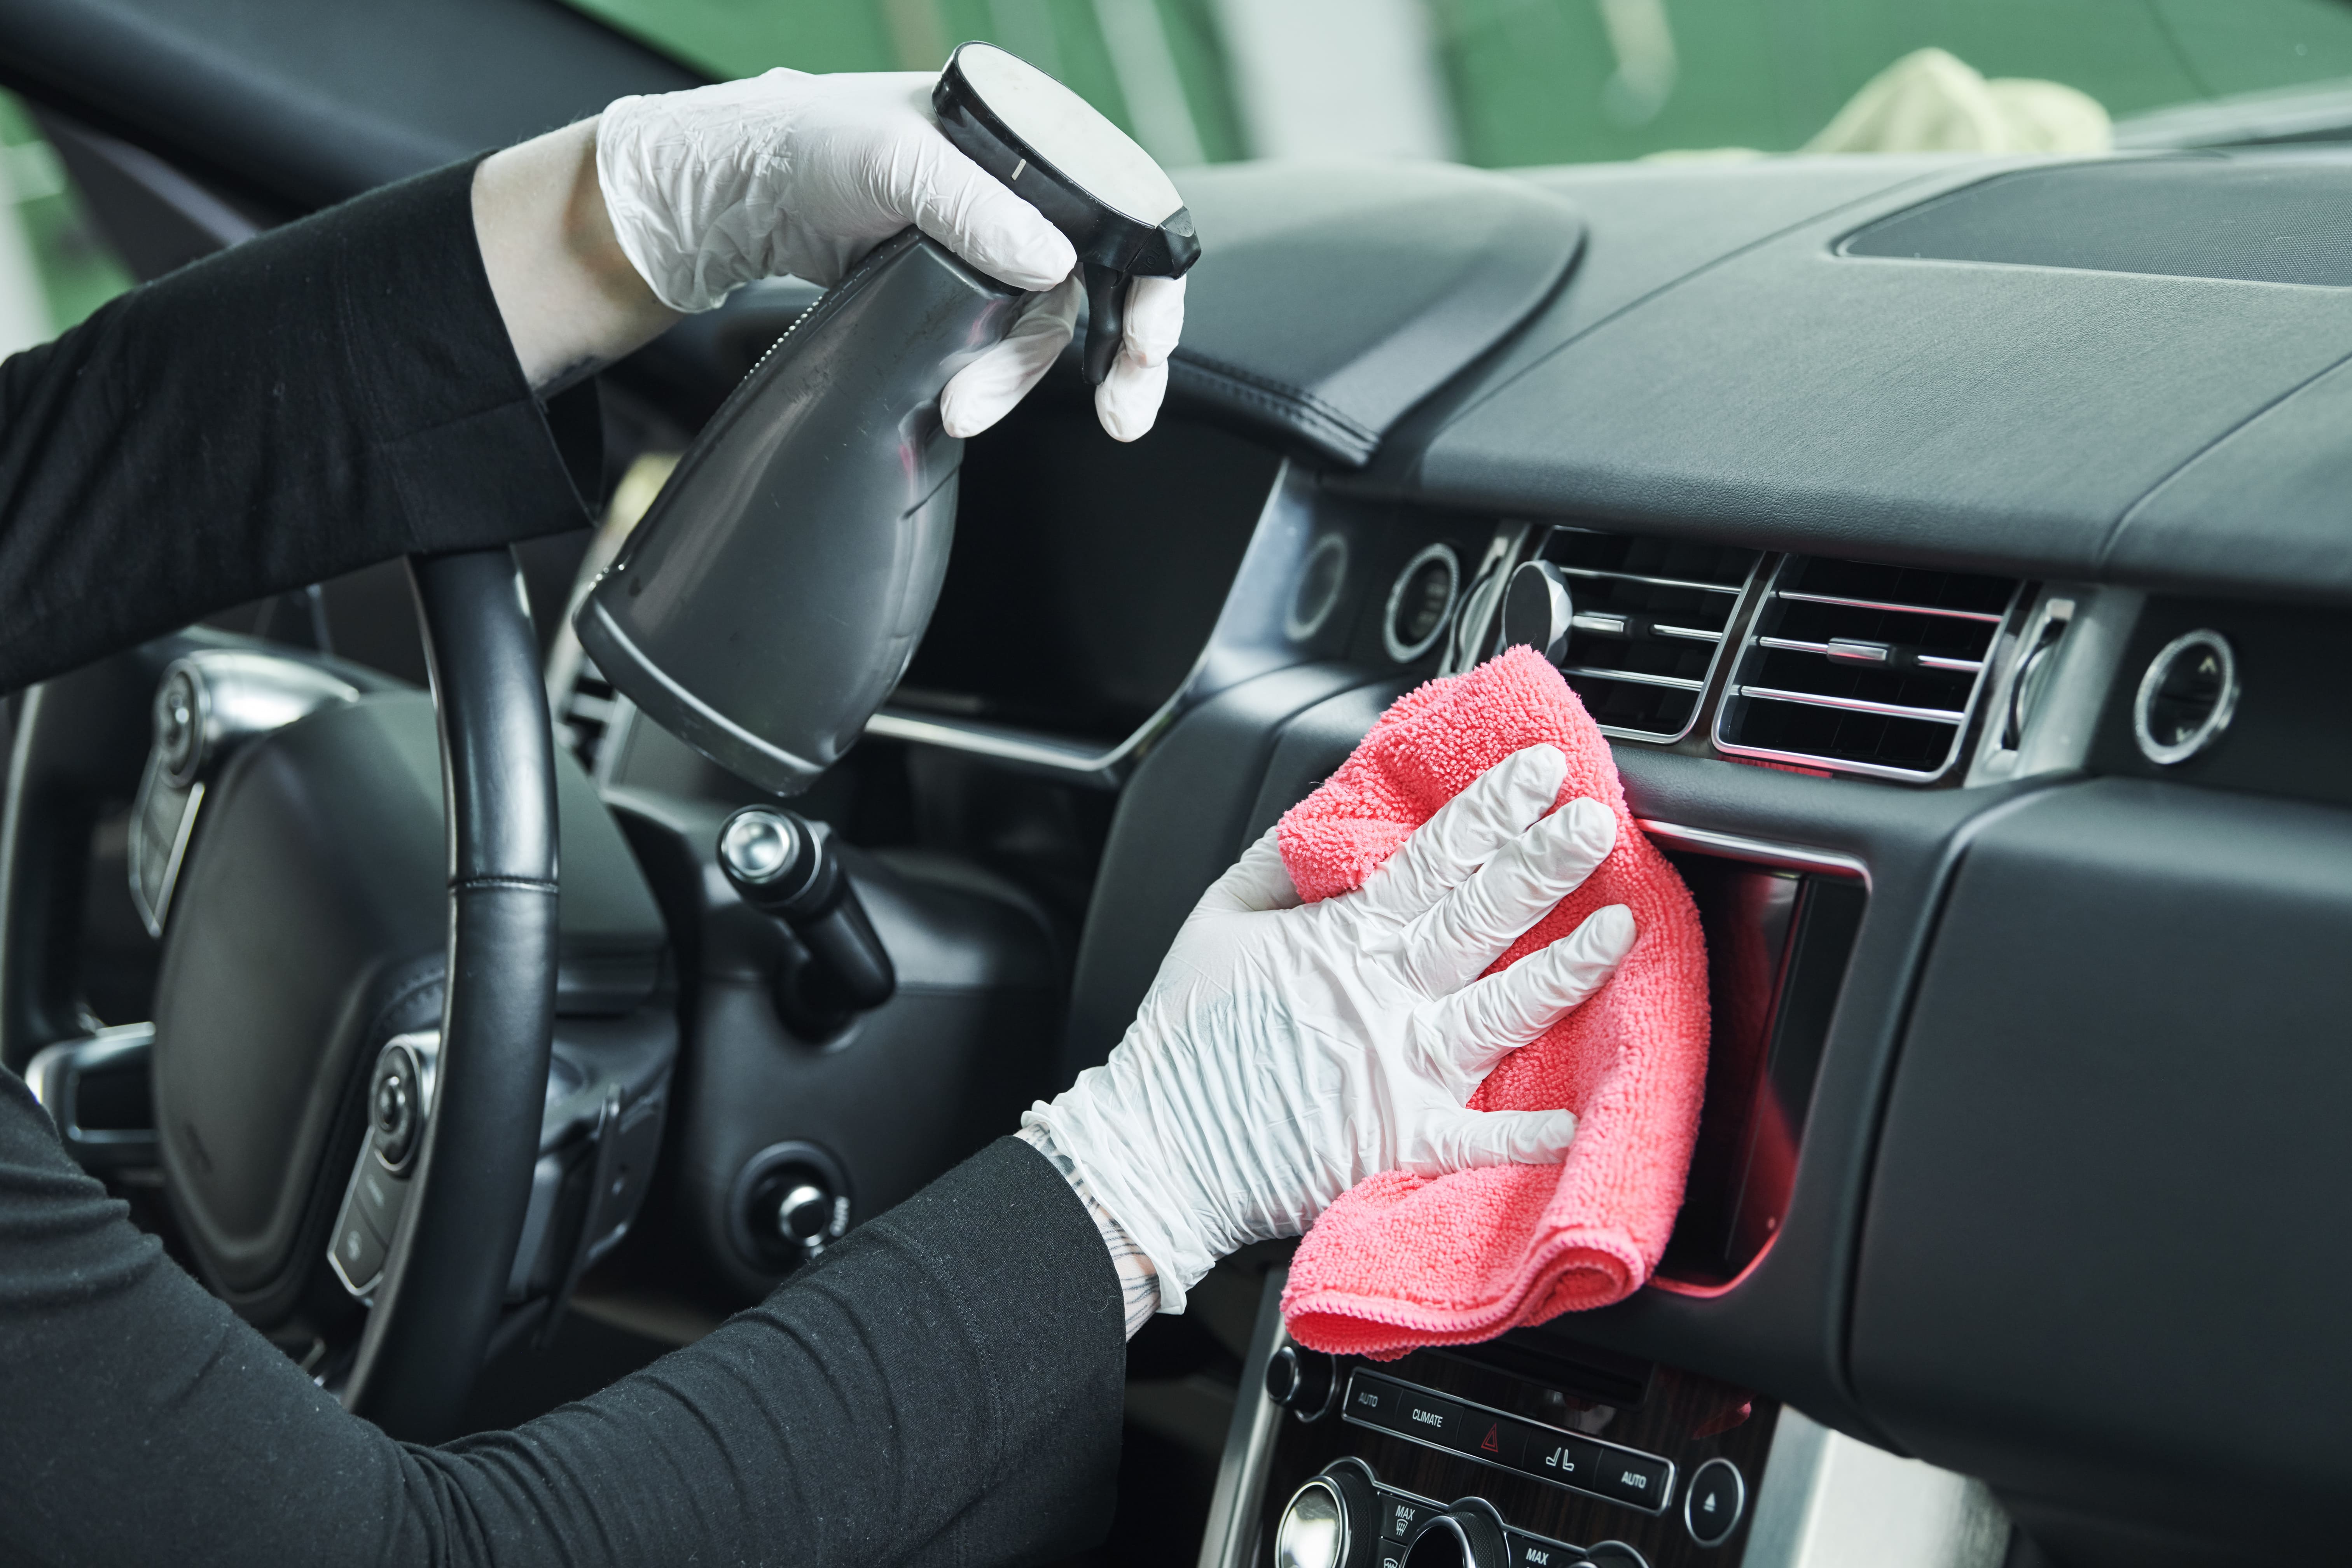
7. Shiny, shiny interior
Usually, it is possible to cheaply pick up a specific plastic trim cleaner or a dashboard cleaner – either one works for the majority of plastic surfaces (But again, check the label first). Grab a microfibre towel and apply the cleaning solution to it.
As with many of these steps, clean in a circular motion to remove any dirt and stop streaks from forming. This step can take quite some time – there seem to be millions of components inside the car for you to clean. But stick with it and you will reap all the benefits from having an insanely clean car.
Start with the dashboard and work your way down to the small plastic trims around your seats – just in case you lose interest and quit early.
Please be sure to not over-polish certain areas like your steering wheel. While a high gloss finish will look incredible, it’s not very practical – in fact, it may make it difficult to steer.
If your car is new enough to have a large infotainment system or sat nav, you may want to pick up a specific screen cleaner – using other products may look like they work, but they may damage the technology.
8. Clean your glass
We are now at one of the most pivotal steps – cleaning your glass.
By this point your car should look immaculate on both the interior and exterior, but one of the most important safety aspects needs to still be performed. Cleaning the glass on the interior of your car should follow the same method as cleaning the glass on the exterior.
It is important that we get a streak-free finish on all the glass areas of our car to ensure that we have the greatest amount of visibility possible whilst on the road.
So grab a microfibre towel and your window spray, and start wiping in a firm circular motion to avoid any contaminants left on the window. Avoid the product from building up at the corners and edges.
If you are still not happy with the results, or can still see smudges and streaks on the surface of your windows, we would suggest repeating this step, with either a clean wipe.
Ensuring we can see out the windows is one of the most important areas of the whole cleaning process – for driver safety, so spend a good amount of time ensuring you are happy with the results.
9. Put everything back where you found it
Now that you’ve finished the entire cleaning process, you need to clean up after yourself – no, we don’t mean put away all your products, although this is definitely worth doing before you get told off.
Make sure that all your seats, car mats and interior and exterior mirrors are put back to how you originally left them.
The positioning of your car seat and mirrors in particular are imperative to keep you safe behind the wheel – these will dictate your visibility and ability to react to oncoming cars.
Our recommendation is doing this straight after you have finished valeting your car, because the next time you need to use your car, you may be late for work and not have the time to correct them properly.
This also has the added benefit of allowing you to admire the wonderful work you’ve done on the interior of the car, first-hand.
10. Freshen up your ride
The final, less obligatory step of this entire process is to make your car smell as good as it looks.
Maybe get an air freshener for the interior of your car – but avoid anything that dangles in front of your face, or blocks your visibility.
We will leave the smell up to you – by the way, anything with Vanilla in smells incredible.